How to Install a Replacement Bathtub
by Guest on Nov 15, 2014
Although bathtub installation is typically left to the professionals and isn’t an easy DIY plumbing project because it involves working with a large, heavy object in a small space, it is possible to install a replacement bathtub without having to rely on the pros. While changing out your old tub with a new shower or bathtub isn’t a super difficult job, it’s guaranteed to be time consuming. Here are some tips for installing a replacement bathtub.
Preparation
Before you can start removing your old bathtub, you’ll have to spend some time preparing the area and giving yourself some space to work. If your walls are tiled, experts recommend removing and replacing these as well. The first step in installing a new tub is to set a ledger board in place. This board supports the edges of the tub that make contact with the walls of the tub enclosure. First, push the tub into the enclosure ad mark the top of the flange on the wall studs with a pencil. Measure and mark the location for the top of the ledger, which is usually about one inch below the first mark. Use drywall screws to fasten the ledger board horizontally and level across the back wall of the enclosure. Then, fasten shorter ledger boards to the end of the enclosure, level with the board you installed on the back wall.
Hook up Plumbing
Since it’s easier to install the pipes before the tub is permanently installed in the enclosure, you should turn the tub over so it can rest on its side and follow these steps:
- Install the show fitting by following the manufacturer’s directions,
- Assemble the overflow fitting with the overflow pipe,
- Place a bead of plumber’s putty around the drain flange and wrap Teflon pipe tape around the threads on its body,
- Place a rubber washer on the shoe and position the shoe under the tub,
- Screw the drain flange into the shoe,
- Tighten the drain flange, and
- Place a rubber washer on the overflow drain and install the overflow cover with the provided screws.
Secure the Tub
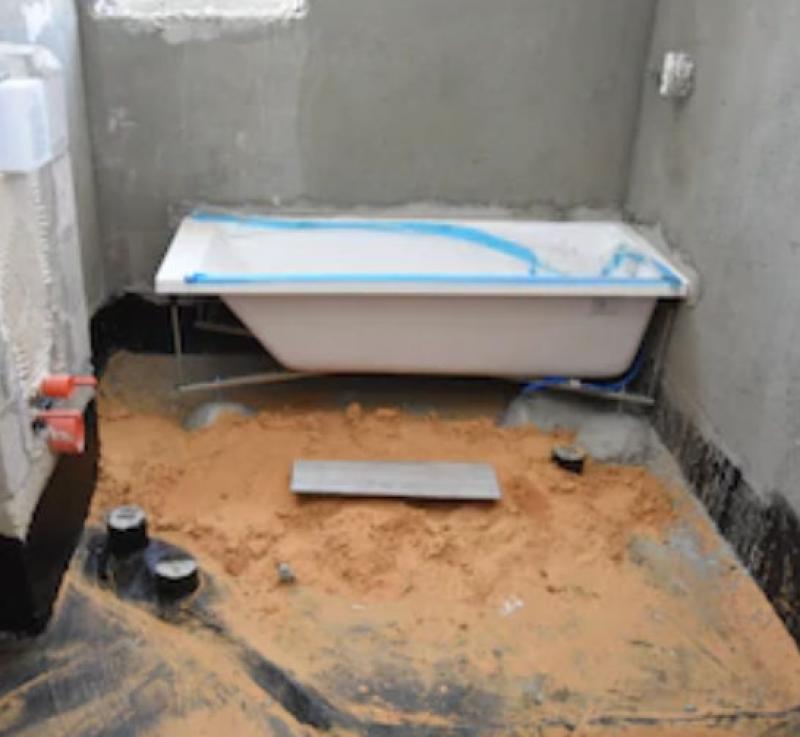
Once the plumbing is hooked up, it’s time to permanently secure the tub. Mix a batch of mortar according to the package directions and, with a notched trowel, spread a 2-inch layer of mortar on the subfloor where the tub will sit. Life the tub in place and position it so it’s tight against the walls. Once in place, secure the tub with the studs and nails provided by the manufacturer.
Popular Articles
Three Places to Spend Money on the Exterior of Your Home
When you have the exterior of your home remodeled, you are investing, time, energy and convenience into the project and you want to make sure that...
108227 Views
Homemade Headboards-Make an Upholstered or Wooden Headboard
Homemade headboards can add a lot of personality to any bedroom. They can be coordinated with existing furniture and room decor or they can be the...
81251 Views
When to Use a Brush, Roller or Sponge Brush
Brushes are a good choice for painting trim and woodwork. They are also useful for cutting in the edges around the top and bottom edges and corners...
73781 Views
Creating a Cottage Kitchen with Bead Board
Kitchen decor can range from modern and bold to elegant and elaborate by using strategic kitchen pieces. One of the most popular decorating trends...
59619 Views
Gas Fireplace Diagnostics and Troubleshooting
Follow these steps for diagnosing and troubleshooting Gas Fireplaces repairs. For the average DIYer, this may seem intimidating, depending on the...
36505 Views
Latest Articles
Signs You Need Professional Plumbing Repair: Don’t Ignore These Warning Signs
Ignoring the signs of a pending plumbing disaster can lead to significant damage and costly repairs. For instance, homeowners might not realize...
on Jan 20, 2026
Beneath the Surface: Why Professional Trenchless Sewer Line Repair
Beneath the Surface: Why Professional Trenchless Sewer Line Repair is Essential for Modern Homeowners
on Jan 14, 2026
Hydro Jetting Services: Unclog Your Pipes with the Power of Water
When faced with stubborn clogs and slow drains, conventional solutions often fall short. But with the innovation of hydro jetting services,...
on Dec 15, 2025
Why Professional Heat Pump Installation is Key to Maximizing Efficiency and Longevity
Heat pumps are a highly efficient means of heating and cooling homes, reducing energy costs and contributing to environmental sustainability. To...
on Dec 15, 2025
Why Professional Boiler Repair is Essential for Home Safety and Comfort
Maintaining a warm and safe home environment is paramount for any homeowner. Your home's boiler system plays a critical role in this, but what...
on Nov 5, 2025
Featured Articles
What Type of Licensed Contractor Should You Hire?
on Feb 28, 2017
Hire Contractors / Estimates

Looking for a specialty project? There are many types of contractors available for your home improvement needs. Finding the right type of...
Actions
Top Categories
- Garden / Landscaping / Patio — 264
- Kitchen / Bathrooms — 240
- Real Estate / Finance — 203
- Appliance / Repair — 186
- Interior Design / Decor — 184
- HVAC / Air Conditioning — 150
- Cleaning / Maintenance — 144
- Improvements / Remodeling — 131
- Plumbing / Basements — 121
- Floors / Tile / Hardwood — 116
- Safety / Security — 114
- Doors / Garages — 113
Articles Archive
More DIY Articles
The Best Flowers for Great Curb Appeal
Right now is planting season and the beginning of yard work season. One of the biggest factors in quick and successful home sales is curb appeal....
Which are the Signs of Garage Door Spring Damage
Do you recognize the signs of garage door spring damage? Learn how to spot extension and torsion spring problems and what to do in each case. If...
Top 10 Things to Consider When Relocating
Australia is the world’s 13th largest economy. Highly developed, having a very diverse culture and an enjoyable lifestyle, Australia has become a...
Top Tips For Successfully Using Augers In Your Garden
An auger is a perfect way to make a hole and can be used for a variety of different things. For example, an auger is used to create a borehole,...
The Best-Kept Secrets of Installing Fences Worth the Money Spent
Not unless you are a property developer, you rarely buy fences. For that reason, you might find the process to be a little confusing. However, when...