3 Ways to Spruce Up the Look of Your Wood Floors
by Janet Holman on Aug 15, 2013
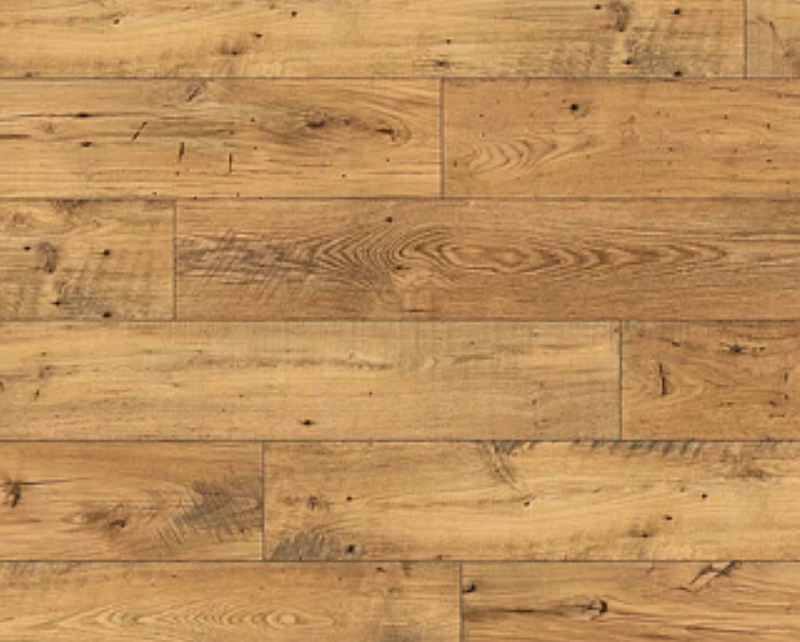
It’s time to make those wood floors look new again. However, you won’t have to polish off a lot of dollars to do it, but one does have to employ some know how and a bit of elbow grease.
Of course, the professional renovation makes a mark on your old floors, but hiring professionals is often expensive. Furthermore, one needs to wait for a time that is convenient for them. You want your floors looking new right now. Here’s how to do it.
Method One
Check your floor for surface damage, such as stains, tarnish, and scratches. Use mildly-warm water, removing surface stains and discoloration. Next, use steel wool to scour the surface of your wood floor. Don’t scrub too hard, or you will scratch. The steel wool prepares the floor for another coat of finishing.
It’s likely, the scrubbing process reveals more dirt and excess grime. Use a broom or vacuum to rid the floor of existing debris. Now, it is time for the finish. The finish can be applied with a foam pad or sponge. Use an appropriate paintbrush or similar device to cover the corners and any areas left unfinished.
Method Two
This method involves a sander, usually, a device leveraged by professionals, yet any do-it-yourself hardware store will have them available for rent. Look for weekend sales on a belt and edge sanders. Some people feel anxious about using a sander, and for good reason; improperly using a sander can damage your floor rather than revitalize. Test the sander, seeing how your floor reacts, using a small space, such as in a closet, where damage won’t be as visually crucial.
Use the sander in a back and forth motion, reading the direction of the floor grain. Like using a trimmer for the lawn, use the edge sander around the corners and hard-to-reach places. As with the sander, apply your stain in the direction of the wood grain for the best application results, you have. Watch the paint on the walls while working with the stain! It takes more time, but it may be best to apply a strip of protective tape or covering around the walls or floor trim to ensure only the floor gets stained.
Method Three
Go to a hardware store, maybe a mom and pop shop rather than a large retailer, searching for mineral spirits. This method is not as abrasive as using a sander and usually takes only a fraction of the time. Some people don’t care for chemicals found in some other finishes, so as an alternative, try finishing with a mixture of boiled linseed oil and varnish. A pro tip about sanding: Don’t sand unless you feel it’s necessary; sanding diminishes the thickness of the wood as well as the functionality, shortening its lifespan, aside from the added costs, resources, and time it takes to leverage a sander.
That’s it! Try one of these three ways to magically transform your existing, fading wood floor. No matter how harsh it may initially appear, even after uncovering floors trapped under rugs for years, there’s an opportunity to make your old wood floors look new!
Janet Holman has a hands-on approach to all interior design tasks. She draws from her experience in interior design when blogging.
Popular Articles
Three Places to Spend Money on the Exterior of Your Home
When you have the exterior of your home remodeled, you are investing, time, energy and convenience into the project and you want to make sure that...
108404 Views
Homemade Headboards-Make an Upholstered or Wooden Headboard
Homemade headboards can add a lot of personality to any bedroom. They can be coordinated with existing furniture and room decor or they can be the...
81291 Views
When to Use a Brush, Roller or Sponge Brush
Brushes are a good choice for painting trim and woodwork. They are also useful for cutting in the edges around the top and bottom edges and corners...
74225 Views
Creating a Cottage Kitchen with Bead Board
Kitchen decor can range from modern and bold to elegant and elaborate by using strategic kitchen pieces. One of the most popular decorating trends...
59659 Views
Gas Fireplace Diagnostics and Troubleshooting
Follow these steps for diagnosing and troubleshooting Gas Fireplaces repairs. For the average DIYer, this may seem intimidating, depending on the...
36535 Views
Latest Articles
Signs You Need Professional Plumbing Repair: Don’t Ignore These Warning Signs
Ignoring the signs of a pending plumbing disaster can lead to significant damage and costly repairs. For instance, homeowners might not realize...
on Jan 20, 2026
Beneath the Surface: Why Professional Trenchless Sewer Line Repair
Beneath the Surface: Why Professional Trenchless Sewer Line Repair is Essential for Modern Homeowners
on Jan 14, 2026
Hydro Jetting Services: Unclog Your Pipes with the Power of Water
When faced with stubborn clogs and slow drains, conventional solutions often fall short. But with the innovation of hydro jetting services,...
on Dec 15, 2025
Why Professional Heat Pump Installation is Key to Maximizing Efficiency and Longevity
Heat pumps are a highly efficient means of heating and cooling homes, reducing energy costs and contributing to environmental sustainability. To...
on Dec 15, 2025
Why Professional Boiler Repair is Essential for Home Safety and Comfort
Maintaining a warm and safe home environment is paramount for any homeowner. Your home's boiler system plays a critical role in this, but what...
on Nov 5, 2025
Featured Articles
What Type of Licensed Contractor Should You Hire?
on Feb 28, 2017
Hire Contractors / Estimates

Looking for a specialty project? There are many types of contractors available for your home improvement needs. Finding the right type of...
Actions
Top Categories
- Garden / Landscaping / Patio — 264
- Kitchen / Bathrooms — 240
- Real Estate / Finance — 203
- Appliance / Repair — 186
- Interior Design / Decor — 184
- HVAC / Air Conditioning — 150
- Cleaning / Maintenance — 144
- Improvements / Remodeling — 131
- Plumbing / Basements — 121
- Floors / Tile / Hardwood — 116
- Safety / Security — 114
- Doors / Garages — 113
Articles Archive
More DIY Articles
When to Replace Your Heater
Consider the number of damages the heating unit has so that you will know right away if you will need to buy a new one or not. You better replace...
Things to Do if You Get Locked Out of Your House
Getting locked out of your house can induce panic. You do not know what to do next. You also worry about your safety. Worse, you are in a hurry...
Is Regular Roof Cleaning Bad for a Home?
If you are a homeowner wondering if roof cleaning is bad for a home, the answer is both yes and no! Before you get confused, check out some reasons...
Advice on Finding the Right French Door Refrigerator
French door refrigerators are becoming more and more popular. There are many things to consider when purchasing French door refrigerators. The...
How Expert Can You Be in Window Cleaning
You might think a sponge and a window cleaning solution will do the trick, but windows need much more than that. One might even wonder why one must...