You Can Do It Weatherstripping
by Michigan State University on Apr 26, 2012
You can weatherstrip your doors even if you're not an experienced handyman. There are several types of weatherstripping for doors, each with its level of effectiveness, durability, and degree of installation difficulty. Select among the options given the one you feel is best for you. The installations are the same for the two sides and top of a door, with a different, more durable one for the threshold.
1. Adhesive-backed foam: Tools-Knife or shears, Tape measure
Evaluation -- extremely easy to install, invisible when installed, not very durable, more effective on doors than windows.
Installation -- stick foam to the inside face of jamb.
2. Rolled vinyl with aluminum channel backing: Tools- Hammer, nails, Tin snips, Tape measure
Evaluation -- easy to install, visible when installed, durable.
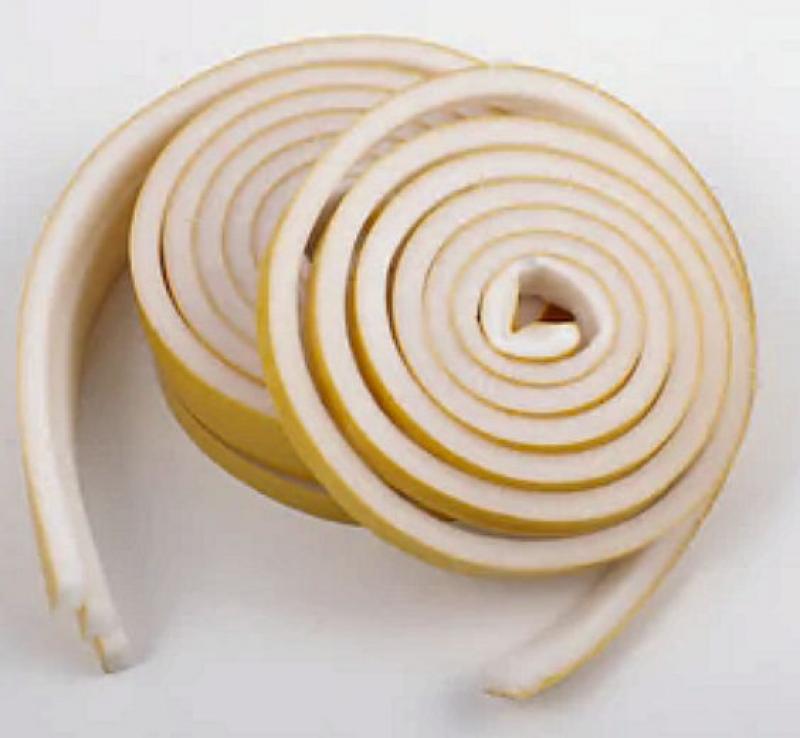
3. Foam rubber with wood backing: Tools-Hammer, nails, Hand saw, Tape measure
Evaluation -- easy to install, visible when installed, not very durable.
Installation -- nail strip snugly against the closed door. Space nails 8 to 12 inches apart.
4. Spring metal: Tools-Tin snips, Hammer, Nails, Tape measure
Evaluation -- easy to install, invisible when installed, extremely durable.
Installation -- cut to length and tack in place. Lift the outer edge of the strip with a screwdriver after tacking, for a better seal.
Note: These methods are harder than 1 through 4
5. Interlocking metal channels: Tools-Hack saw, Hammer, Nails, Tape measure
Evaluation -- difficult to install (alignment is critical), visible when installed, durable but subject to damage, because they're exposed, excellent seal.
Installation -- cut and fit strips to head of door first: male strip on the door, female on the head; then hinge side of the door: male strip on the jamb, female on the door; finally lock side on the door, female on the jamb.
6. Fitted interlocking metal channels (J-strips)
Evaluation -- very difficult to install, exceptionally good weather seal, invisible when installed, not exposed to possible damage.
Installation -- should be installed by a carpenter. Not appropriate for do-it-yourself installation unless done by an accomplished handyman.
7. Sweeps: Tools-Screwdriver, Hack saw, Tape measure
Evaluation -- useful for flat thresholds, may drag on carpet or rug.
Installation -- cut sweep to fit 1/16 inch in from the edges of the door. Some sweeps are installed on the inside and some outside. Check instructions for your particular type.
8. Door Shoes: Tools- Screwdriver, Hack saw, Plane, Tape measure
Evaluation -- useful with a wooden threshold that is not worn very durable, difficult to install (must remove door).
Installation -- remove the door and trim required amount off the bottom. Cut to door width. Install by sliding vinyl out and fasten with screws.
9. Vinyl bulb threshold: Tools-Screwdriver, Hack saw, Plane, Tape measure
Evaluation -- useful where there is no threshold or wooden one is worn out, difficult to install, vinyl will wear but replacements are available.
Installation -- remove the door and trim required amount off the bottom. The bottom should have about 1/8" bevel to seal against vinyl. Be sure to bevel is cut in the right direction for opening.
10. Interlocking threshold:
Evaluation -- very difficult to install, exceptionally good weather seal.
Installation -- should be installed by a skilled carpenter. Install by moving sash to the open position and sliding strip in between the sash and the channel. Tack in place into the casing. Do not cover the pulleys in the upper channels.
A sliding window can be treated as a double-hung window turned on its side. Casement and tilting windows should be weatherstripping with the vinyl nailed to the window casing so that, as the window shuts, it compresses the roll.
Install adhesive-backed foam, on all types of windows, only where there is no friction. On double-hung windows, this is only on the bottom (as shown) and top rails. Other types of windows can use foam strips in many more places. Before applying caulking compound, clean area of paint build-up, dirt, or deteriorated caulk with solvent and putty knife or large screwdriver. Drawing a good bead of caulk will take a little practice. The first attempts may be a bit messy. Make sure the bead overlaps both sides for a tight seal. A wide bead may be necessary to make sure caulk adheres to both sides.
Fill extra-wide cracks like those at the sills (where the house meets the foundation) with oakum, glass fiber insulation strips, etc.) In places where you can't quite fill the gaps finish the job with caulk.
Caulking compound also comes in rope form. Unwind it and force it into cracks with your fingers. You can fill extra-long cracks easily this way.
Triple track, combination (windows and screen) storm windows are designed for installation over double-hung windows. They are permanently installed and can be opened any time with a screen slid into place for ventilation. Double-track combination units are also available and they cost less. Both kinds are sold almost everywhere and can be bought with or without the cost of installation. You can save a few dollars (10% to 15% of the purchase price) by installing the windows yourself. But you'll need some tools inlcuding caulking gun, drill, and screwdriver. In most cases, it will be easier to have the supplier install your windows for you, although it will cost more.
The supplier will first measure all the windows where you want storm windows installed. It will take anywhere from several days to a few weeks to make up your order before the supplier returns to install them. Installation should take less than one day, depending on how many windows are involved. Two very important items should be checked to make sure the installation is properly done.
Make sure that both the window sashes and screen sash move smoothly and seal tightly when closed after installation. Poor installation can cause misalignment. Be sure there is a tightly caulked seal around the edge of the storm windows. Leaks can hurt the performance of storm windows a lot.
Frame finish: A mill finish (plain aluminum) will oxidize, reducing ease of operation and degrading appearance. An anodized or baked enamel finish is better.
Corner joints: Quality of construction affects the strength and performance of storm windows. Corners are a good place to check construction. They should be strong and airtight. Normally overlapped corner joints are better than mitered. If you can see through the joints, they will leak air.
Sash tracks and weatherstripping: Storm windows are supposed to reduce air leakage around windows. The depth of the metal grooves (sash tracks) at the sides of the window and the weatherstripping quality makes a big difference in how well storm windows can do this. Compare several types before deciding.
Hardware quality: The quality of locks and catches has a direct effect on the durability and is a good indicator of overall construction quality.
Combination (windows and screen) storm doors are designed for installation over exterior doors. They are sold almost everywhere, with or without the cost of installation.
Installation You can save a few dollars (10% to 15% of the purchase price) by installing doors yourself. But you'll need some tools: hammer, drill, screwdriver, and weatherstripping. In most cases, it will be easier to have the supplier install your doors himself.
The supplier will first measure all the doors where you want storm doors installed. It will take anywhere from several days to a few weeks to make up your order before the supplier returns to install them. Installation should take less than one-half day.
Before the installer leaves, be sure the doors operate smoothly and close tightly. Check for cracks around the jamb and make sure the seal is as air-tight as possible. Also, remove and replace the exchangeable panels (window and screen) to make sure they fit properly and with a weather-tight seal.
Selection:
Door finish: A mill finish (plain aluminum) will oxidize, reducing ease of operation and degrading appearance. An anodized or baked enamel finish is better.
Corner joints: Quality of construction affects the strength and effectiveness of storm doors. Corners are a good place to check construction. They should be strong and airtight. If you can see through the joints, they will leak air.
Weatherstripping: Storm doors are supposed to reduce air leakage around your doors. Weatherstripping quality makes a big difference in how well storm doors can do this. Compare several types before deciding.
Hardware quality: The quality of locks, hinges, and catches should be evaluated since it can have a direct effect on the durability and is a good indicator of overall construction quality.
Construction material: Storm doors of wood or steel can also be purchased within the same price range as the aluminum variety. They have the same quality differences and should be similarly evaluated. The choice between doors of similar quality but different material is primarily up to your taste.
Amazon Online has a large variety of weather-stripping and seals.
Popular Articles
Three Places to Spend Money on the Exterior of Your Home
When you have the exterior of your home remodeled, you are investing, time, energy and convenience into the project and you want to make sure that...
107883 Views
Homemade Headboards-Make an Upholstered or Wooden Headboard
Homemade headboards can add a lot of personality to any bedroom. They can be coordinated with existing furniture and room decor or they can be the...
81152 Views
When to Use a Brush, Roller or Sponge Brush
Brushes are a good choice for painting trim and woodwork. They are also useful for cutting in the edges around the top and bottom edges and corners...
73701 Views
Creating a Cottage Kitchen with Bead Board
Kitchen decor can range from modern and bold to elegant and elaborate by using strategic kitchen pieces. One of the most popular decorating trends...
59524 Views
Gas Fireplace Diagnostics and Troubleshooting
Follow these steps for diagnosing and troubleshooting Gas Fireplaces repairs. For the average DIYer, this may seem intimidating, depending on the...
36437 Views
Latest Articles
Signs You Need Professional Plumbing Repair: Don’t Ignore These Warning Signs
Ignoring the signs of a pending plumbing disaster can lead to significant damage and costly repairs. For instance, homeowners might not realize...
on Jan 20, 2026
Beneath the Surface: Why Professional Trenchless Sewer Line Repair
Beneath the Surface: Why Professional Trenchless Sewer Line Repair is Essential for Modern Homeowners
on Jan 14, 2026
Hydro Jetting Services: Unclog Your Pipes with the Power of Water
When faced with stubborn clogs and slow drains, conventional solutions often fall short. But with the innovation of hydro jetting services,...
on Dec 15, 2025
Why Professional Heat Pump Installation is Key to Maximizing Efficiency and Longevity
Heat pumps are a highly efficient means of heating and cooling homes, reducing energy costs and contributing to environmental sustainability. To...
on Dec 15, 2025
Why Professional Boiler Repair is Essential for Home Safety and Comfort
Maintaining a warm and safe home environment is paramount for any homeowner. Your home's boiler system plays a critical role in this, but what...
on Nov 5, 2025
Featured Articles
What Type of Licensed Contractor Should You Hire?
on Feb 28, 2017
Hire Contractors / Estimates

Looking for a specialty project? There are many types of contractors available for your home improvement needs. Finding the right type of...
Actions
Top Categories
- Garden / Landscaping / Patio — 264
- Kitchen / Bathrooms — 240
- Real Estate / Finance — 203
- Appliance / Repair — 186
- Interior Design / Decor — 184
- HVAC / Air Conditioning — 150
- Cleaning / Maintenance — 144
- Improvements / Remodeling — 131
- Plumbing / Basements — 121
- Floors / Tile / Hardwood — 116
- Safety / Security — 114
- Doors / Garages — 113
Articles Archive
More DIY Articles
Top 10 Home Remodeling Tips
Rearranging your furniture. You do not essentially require new furniture by just making new shapes, and reordering the flow of your living space...
Common Mistakes You Need to Avoid While Decorating Your Home
With a few basic rules, you can easily create an amazing space. There are certain mistakes most people commit when decorating which must be avoided...
4 Tips to help You Pick the Best Area Rug for Your Home
Most people don't realize how important it is to pick the right area rug. Pick the wrong one and it can completely ruin the look and feel of the...
Mistakes too Many Make when Hiring Plumbers
Nowadays, it is so much easier to find and hire a plumber than it used to be some time ago because of the fact that the internet easily helps us to...
Why Remodeling Your Garage is a Great Idea!
Have you been looking over your dark and dingy old garage and thinking it is high time to get a little remodelling done on it? Your garage is a...