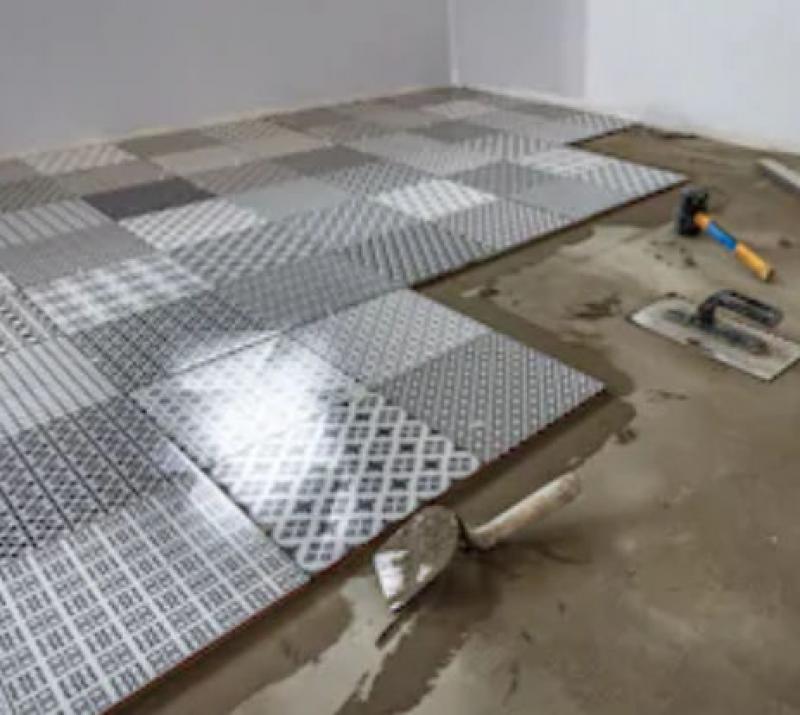
How to Lay Self-Adhesive Vinyl Floor Tiles
by Jessica Ackerman on Apr 27, 2012
When many people think of laying Self-Adhesive Vinyl Floor tiles they envision beginning in a corner, peeling back the paper, and sticking tiles to existing flooring until reaching the other side of the room. Laying self-adhesive vinyl tiles is easy, but this is not the way to achieve professional looking results. It is possible to save money by installing self-adhesive vinyl floor tiles, but how they are laid is important not only for the quality of the finished appearance but also to help extend the life of the flooring.
Consider the following tips and advice before installing self-adhesive vinyl floor tiles. With a few simple tips and easy installation tricks, it is possible to turn an ordinary do-it-yourself project into a professional looking job that will add practicality and long-lasting style to the home. Best of all, you will save money hundreds of dollars over professionally installed flooring.
Necessary Supplies for Laying Vinyl Flooring
To lay self-adhesive vinyl floor tiles you will need a powdered chalk snap line, a sharp utility knife, a metal straightedge and square, a tape measure, a sharpened pencil, a kitchen rolling pin or a vinyl tile roller, and knee pads for comfort. You will also require enough self-adhesive vinyl floor tiles to complete the job, plus several extras to store in case any of the tiles are ever damaged and require replacement.
Several flooring specialists and interior designers still recommend choosing vinyl tiles with small patterns for a small room, and larger patterns for a large room, but this is a design misconception. It is not necessary to choose tile patterns according to the size of the room. If you like the look of large stone patterns in a small bathroom, by all means, choose that style. If you prefer the look of small square tiles on larger self-adhesive vinyl squares, select that pattern. Let your preference be your guide, and choose the tile pattern you prefer no matter the size.
Procedure
Begin by removing old flooring, molding, or baseboards that could get in the way of removing and installing flooring, and take out any removable fixtures such as a bathroom toilet. Sweep the floor thoroughly to get rid of any dirt and debris that would keep the self-adhesive floor tiles from sticking.
Next, measure to find the center of each wall, and snap a chalk line to form a 90-degree angle where the lines intersect in the middle of the room. Check the lines with a square, and if they are not 90-degrees, brush away the chalk and try again until the proper angle is achieved. This will ensure the tiles are straight and well aligned when they are placed.
Before placing the tiles, keep in mind that at least half of the last row of tiles should be visible to achieve a professional looking appearance. Before removing adhesive backing, lay tiles against the chalk lines in both directions to determine the width of the last row when reaching the walls. If necessary, create new chalk lines to achieve tiles a half-width in size or larger for the best overall look around the perimeter of the room.
Contrary to popular belief, instead of beginning in a corner along a wall, lay the first self-adhesive tile in a corner where the chalk lines intersect and work outward to form a pyramid. Do this in all four sections from the center out until reaching the edges of the room. At this point, it will be necessary to measure and cut the last pieces to fill in the perimeter. Unfortunately, this is one of the reasons many people avoid laying self-adhesive tiles, but it is very easy to measure and cut the tiles for a perfect fit.
The easiest way to measure the last tiles is by placing a complete tile over the last one placed. Place another tile about one-quarter inch away from the wall and over the stacked tile on the last one placed. Use the top tile as a guide, and create a line along the edge with a pencil. Cut the marked tile with a sharp utility knife, and press the tile into place. Repeat this process around the perimeter of the room, and complete the job by going over all of the tiles with a tile roller. This will ensure the self-adhesive tiles are in place and no air bubbles remain.
Lastly, replace any baseboards or molding that had to be removed, and stand back and admire the finished self-adhesive tile floor. This job is easier than most people realize, and doing it without the help of a professional is a way to save a great deal of time and a considerable amount of money.
Popular Articles
Three Places to Spend Money on the Exterior of Your Home
When you have the exterior of your home remodeled, you are investing, time, energy and convenience into the project and you want to make sure that...
108090 Views
Homemade Headboards-Make an Upholstered or Wooden Headboard
Homemade headboards can add a lot of personality to any bedroom. They can be coordinated with existing furniture and room decor or they can be the...
81209 Views
When to Use a Brush, Roller or Sponge Brush
Brushes are a good choice for painting trim and woodwork. They are also useful for cutting in the edges around the top and bottom edges and corners...
73748 Views
Creating a Cottage Kitchen with Bead Board
Kitchen decor can range from modern and bold to elegant and elaborate by using strategic kitchen pieces. One of the most popular decorating trends...
59581 Views
Gas Fireplace Diagnostics and Troubleshooting
Follow these steps for diagnosing and troubleshooting Gas Fireplaces repairs. For the average DIYer, this may seem intimidating, depending on the...
36477 Views
Latest Articles
Signs You Need Professional Plumbing Repair: Don’t Ignore These Warning Signs
Ignoring the signs of a pending plumbing disaster can lead to significant damage and costly repairs. For instance, homeowners might not realize...
on Jan 20, 2026
Beneath the Surface: Why Professional Trenchless Sewer Line Repair
Beneath the Surface: Why Professional Trenchless Sewer Line Repair is Essential for Modern Homeowners
on Jan 14, 2026
Hydro Jetting Services: Unclog Your Pipes with the Power of Water
When faced with stubborn clogs and slow drains, conventional solutions often fall short. But with the innovation of hydro jetting services,...
on Dec 15, 2025
Why Professional Heat Pump Installation is Key to Maximizing Efficiency and Longevity
Heat pumps are a highly efficient means of heating and cooling homes, reducing energy costs and contributing to environmental sustainability. To...
on Dec 15, 2025
Why Professional Boiler Repair is Essential for Home Safety and Comfort
Maintaining a warm and safe home environment is paramount for any homeowner. Your home's boiler system plays a critical role in this, but what...
on Nov 5, 2025
Featured Articles
What Type of Licensed Contractor Should You Hire?
on Feb 28, 2017
Hire Contractors / Estimates

Looking for a specialty project? There are many types of contractors available for your home improvement needs. Finding the right type of...
Actions
Top Categories
- Garden / Landscaping / Patio — 264
- Kitchen / Bathrooms — 240
- Real Estate / Finance — 203
- Appliance / Repair — 186
- Interior Design / Decor — 184
- HVAC / Air Conditioning — 150
- Cleaning / Maintenance — 144
- Improvements / Remodeling — 131
- Plumbing / Basements — 121
- Floors / Tile / Hardwood — 116
- Safety / Security — 114
- Doors / Garages — 113
Articles Archive
More DIY Articles
5 Small Upgrades that can Drastically Improve your Curb Appeal
First impressions matter. Whether you are going on a blind date or trying to sell your home, a strong first impression can make all the difference.
Making the Modern Bathroom
In terms of bathroom design – in my experience – there seem to be two predominant camps: that of the traditional, vintage look and that of the...
Clever Ways to Store Your Clothes
You just bought your dream home. It has the backyard you want, along with all the bedrooms necessary for the family. However, the previous owners...
5 Common Home Repairs Using a Miter Saw
Conducting home repairs is now easily done thanks to the availability of power tools in the market. Home renovations can be expensive and at the...
Gas Water Heater Repairs
If you have a gas water heater and are not getting the hot water that you want, there are a few simple repairs that you can try. You should try...