How to Fit a New Radiator, the Essentials for a Successful Project
by Boris Dzhingarov on Nov 19, 2014
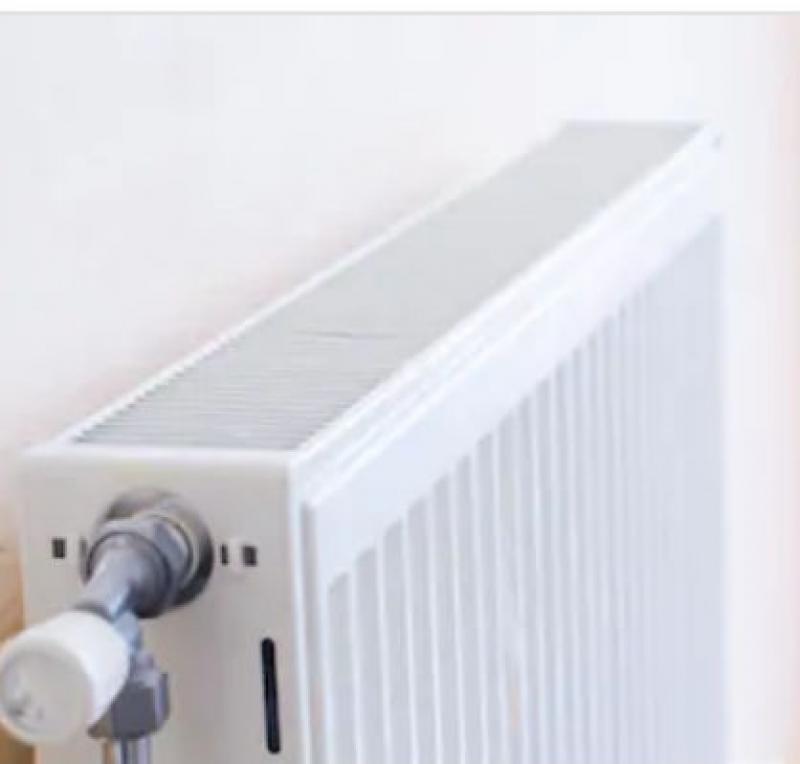
You may decide to change your radiator for many reasons, and these could include replacing an old, inefficient radiator to save money and increase the heat output (BTU), or to upgrade to a stylish designer radiator. Whatever the reason is, your starting point will be the search for a new radiator, closely followed by a decision on fitting. Most people would hire a plumber to do the job, but if you have some basic tools and some practical knowledge of them, you could probably do the job yourself. Here is a basic outline of how to fit your new radiator in easy steps.
Tools
You are going to need a selection of spanners, a butane torch, rags, a bucket, a key for bleed nipples, pipe cutter, and emery cloth.
Materials
Firstly, you will need the correct copper piping to use, along with a selection of ready soldered connectors ----straight, u, and t connectors, pipe clips, butane gas, and PTFE tape.
Step 1. Disconnect the Radiator
Before starting anything, put some old rags around the radiator to catch any overflow from the radiator when you are disconnecting it, then turn off the water boiler and the water supply. You will find a drain valve on one of the downstairs radiators, so fit a hosepipe onto that and run it outside. Undo the drain cock and open the bleed nipple on the radiator, and allow the water to flow outside until no more water is seen coming out.
Step 2. Remove the Radiator
Disconnect the valves from the radiator, after placing a bucket or bowl near the pipes and laying more rags. The pipes will pull from the radiator valves, but be careful not to overextend them. Once the piping is disconnected, the radiator should lift away from the wall, but be careful about the weight, and you will probably need to pour any water left inside the radiator into the bucket that you have handy before taking the radiator from the room.
Brackets
It is unlikely that your new radiator will fit onto your existing brackets, so you will need to use the stencil supplied with your radiator to mark where your brackets will go. Decide on your radiator position and height, and mark the center of the radiator on the wall. Measure out from the center to each bracket, and use the stencils to mark the holes. It is important that your radiator is level, so use a spirit level when positioning the stencils. Once marked, you can drill the holes, insert Rawl plugs, fit the new thermostatic valves to your radiator (after applying some PTFE tape), screw on your brackets, and hang your radiator on the wall.
Pipes
Depending on the position of your new radiator, you will need to decide how best to run the pipes to your radiator. This will be different for all rooms, so the measuring will need to be carefully done. Always measure twice before cutting (with the pipe cutter), and smoothing the ends over with emery cloth. Solder joints to the pipework as you go, as this will make measuring more efficient, and fit clips for the pipes as you go too. The final fit into the valve is very important, and you will be using olives to fit the pipes to the valves, so make sure they are the correct size before trying to fit them.
Once you have done all of this, you will need to refill the system, turn your boiler back on, and run the water through the radiator to check for leaks, and congratulate yourself on another job well done. This is not a job for a complete amateur, so be careful and plan before you start.
Popular Articles
Three Places to Spend Money on the Exterior of Your Home
When you have the exterior of your home remodeled, you are investing, time, energy and convenience into the project and you want to make sure that...
88499 Views
When to Use a Brush, Roller or Sponge Brush
Brushes are a good choice for painting trim and woodwork. They are also useful for cutting in the edges around the top and bottom edges and corners...
69975 Views
Homemade Headboards-Make an Upholstered or Wooden Headboard
Homemade headboards can add a lot of personality to any bedroom. They can be coordinated with existing furniture and room decor or they can be the...
69703 Views
Creating a Cottage Kitchen with Bead Board
Kitchen decor can range from modern and bold to elegant and elaborate by using strategic kitchen pieces. One of the most popular decorating trends...
48381 Views
Gas Fireplace Diagnostics and Troubleshooting
Follow these steps for diagnosing and troubleshooting Gas Fireplaces repairs. For the average DIYer, this may seem intimidating, depending on the...
29061 Views
Latest Articles
Understanding Indonesia’s Real Estate Investment Laws for Foreigners
Indonesia, with its stunning landscapes, deep-rooted cultural heritage, and renowned hospitality, has emerged as a top destination for foreigners...
on Jan 25, 2024
Real Estate Development in Asian Cities
In many Asian cities, the rapid pace of urban development has led to the decline of historic districts, areas once teeming with cultural richness...
on Jan 25, 2024
Shower Envy: Elevating Your Bathroom with a Stunning Walk-In Shower
Are you tired of the same old routine in your bathroom? It might be time to consider a change, and one way to elevate your bathroom to a new level...
on Jan 22, 2024
Exploring Crowdfunding as an Innovative Approach to Real Estate Investment
The landscape of property selling has been transformed significantly due to the advent of property crowdfunding. This innovative approach,...
on Jan 10, 2024
The Rise of Co-Living Spaces in Asian Cities
Asia, home to 21 of the worlds 30 largest cities, is a significant player in the global economy, contributing 38% of the goods and services of the...
on Jan 5, 2024
Featured Articles
What Type of Licensed Contractor Should You Hire?
on Feb 28, 2017
Hire Contractors / Estimates

Looking for a specialty project? There are many types of contractors available for your home improvement needs. Finding the right type of...
Actions
Top Categories
- Garden / Landscaping / Patio — 263
- Kitchen / Bathrooms — 240
- Real Estate / Finance — 200
- Appliance / Repair — 186
- Interior Design / Decor — 184
- HVAC / Air Conditioning — 147
- Cleaning / Maintenance — 144
- Improvements / Remodeling — 131
- Plumbing / Basements — 118
- Floors / Tile / Hardwood — 115
- Doors / Garages — 113
- Safety / Security — 112
Articles Archive
More DIY Articles
Easy Ways to Make Yourself Secure
Security is the one thing that we all need for ourselves and our families in order to survive in this world and the best security you can get is in...
Tips for Buying Bank Foreclosure Houses
There are many people out there who want to purchase real estate properties. The problem is, they just do not have enough money. So, rather than...
Should You Install a Bathroom Heat Light Lamp?
Keeping the different rooms home sufficiently warm during the winter period is extremely vital to ensure proper comfort levels for the family...
Long Distance Moving Tips to Save Money
When moving long distance you may want to contact a long distance moving company to help you with your move. A moving company can help you by doing...
Metal Garage Kits Provide Ideal DIY Structures
Metal garage kits come in a variety of designs, styles and dimensions. The majority of these kits can be assembled with only one or two people....